Assembly Instructions
Please download the N32B Assembly Instructions and follow the assembly steps carefully:
Assembly tips
Although the assembly process is easy, we want to give you some useful tips for a smooth process:
- Make sure you align each component flat on the board. The Arduino Pro Micro and the two TRS connectors must be flat for the enclosure drill holes to fit. The 7 segment display must be flat with the main board as well, so it won’t stick out and interrupt with the top panel.
- Before soldering the potentiometers, assemble the top panel with the spacers and screws so when you solder the potentiometers, they will be perfectly aligned with the top panel drill holes.
- When you glue the enclosure parts:
- Don’t use too much glue, you only need a few drops along the parts or thin line of glue. It is a very strong glue and quickly dry, be careful not to glue your fingers!
- Glue piece by piece, do not glue all the parts at once.
- Make sure you align the parts correctly:
- One part has the “SHIK” logo engraved, which is the front piece.
- The connector drill part goes to the right side of the device (when the logo is in front of you), the USB drill should be aligned to the far top right corner.
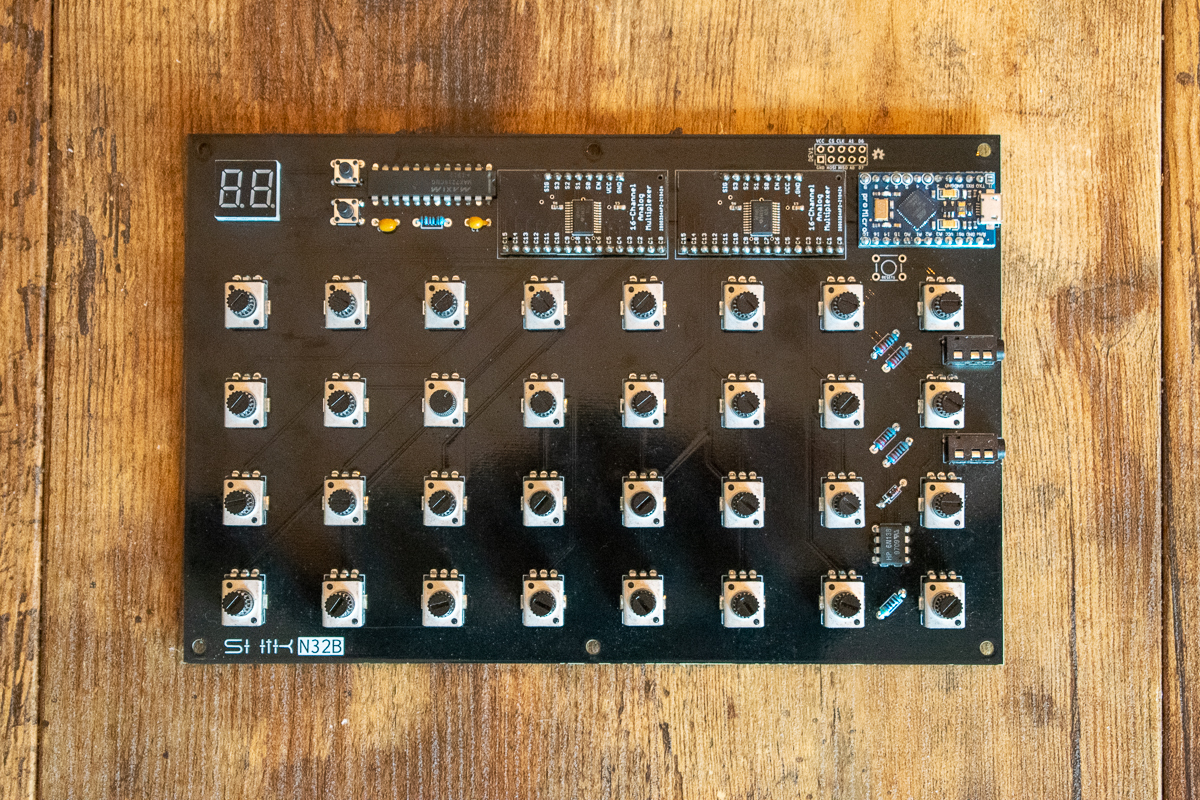
This is how the main board should look like after soldering all the components:
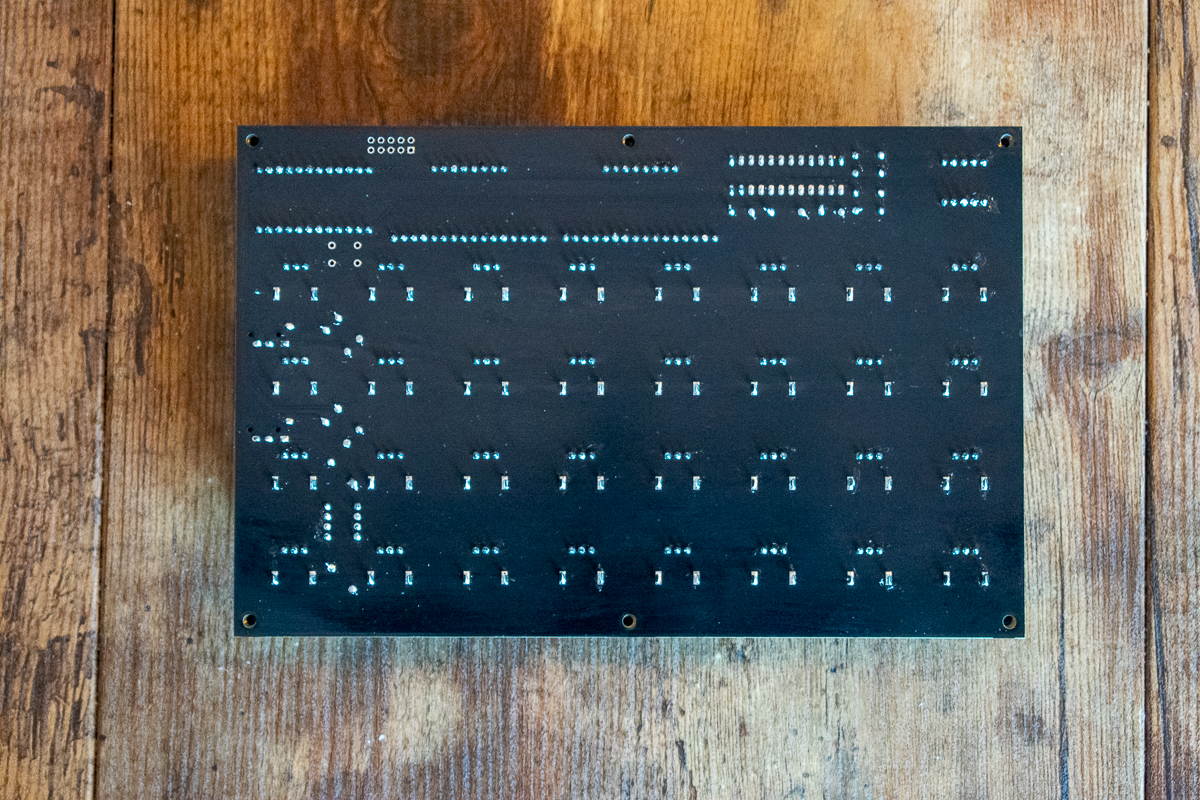
The bottom side of the main board:
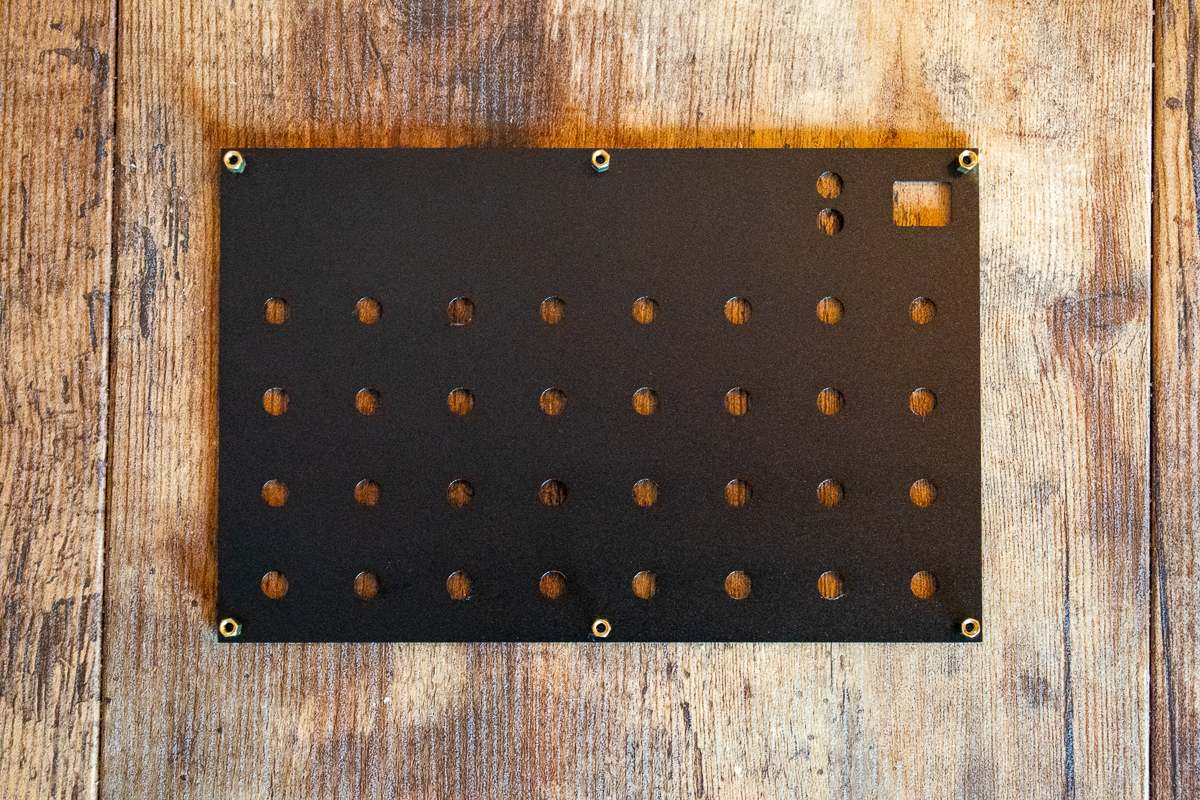
Connecting the brass spacers to the bottom of the top panel using the 6mm screws:
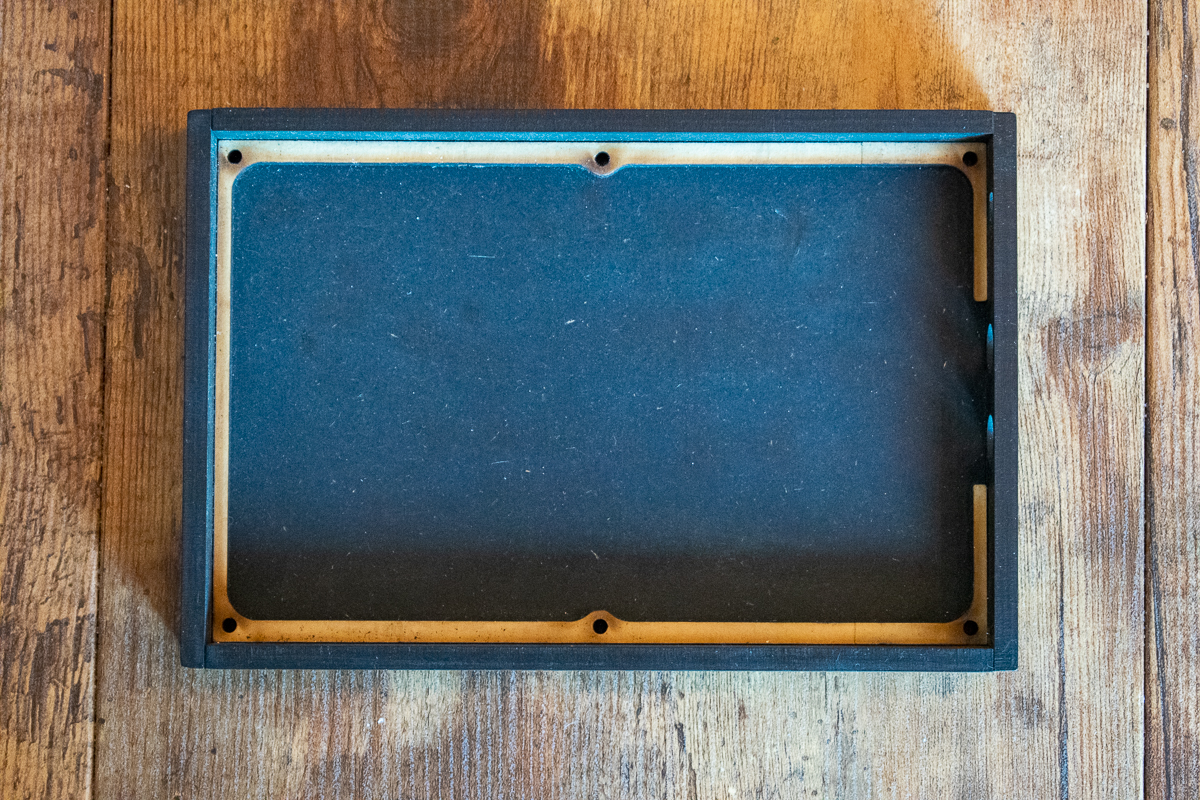
And the assembled enclosure (if purchased):
Using the device
Here is a short video showing how to operate the N32B:
Using the N32B Editor
If you wish to customize each knob, download the N32B Editor from our Downloads page.
Please use the latest version available for your operating system.
Here is a video tutorial for using the N32B Editor:
