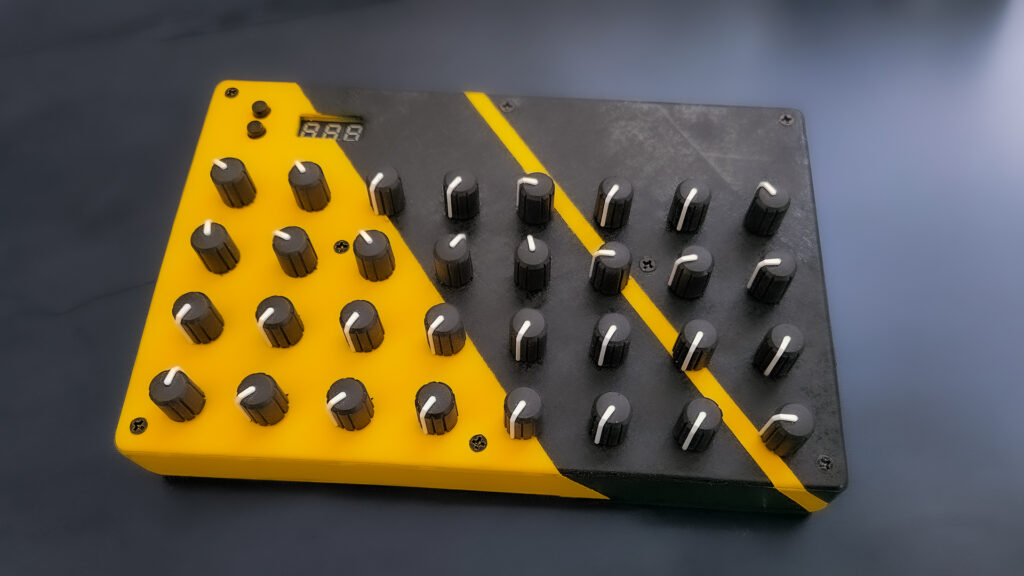
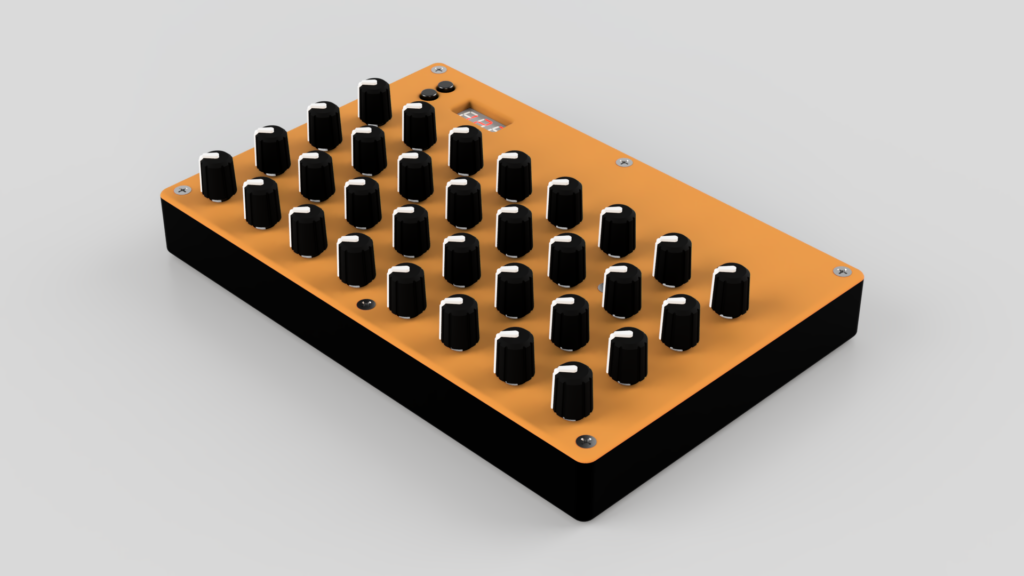
Hello, creative souls! If you’ve got your hands on our N32B V3 MIDI controller and are looking to add a personal touch, why not try printing a custom N32B 3D printed enclosure? This is a fantastic way to not only protect your device but also to elevate its appearance and make your musical setup stand out.
About the Enclosure
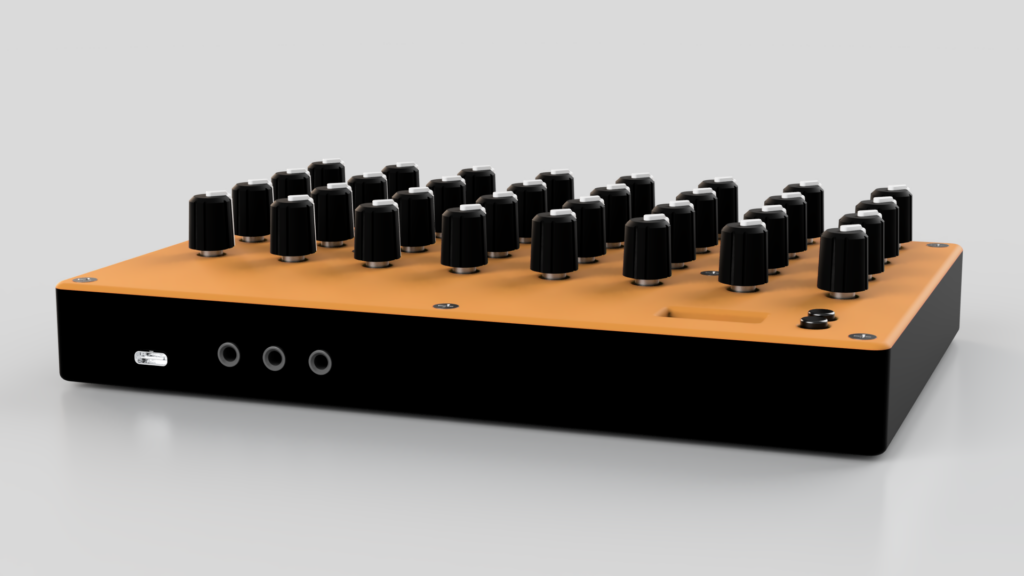
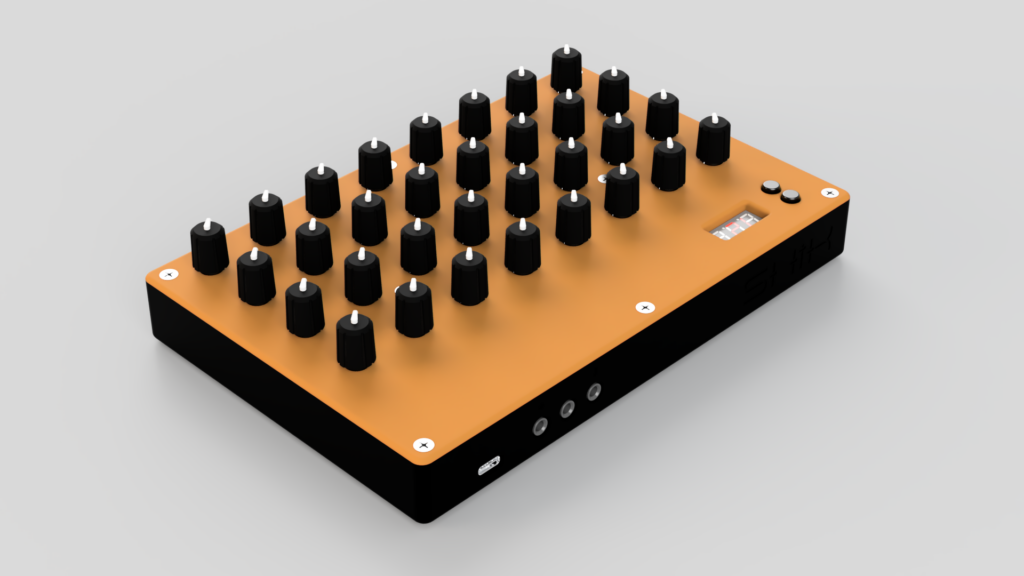
Our custom-designed 3D printed enclosure consists of two meticulously designed parts: a top and a bottom. Crafted specifically to snugly fit your N32B V3, this enclosure provides robust protection without compromising access to ports and buttons. To assemble, align the top and bottom sections and secure them with 8x M3 screws and nuts. For additional stability and to avoid any slipping, we recommend attaching four rubber pads at the base of the enclosure. This thoughtful addition ensures your setup remains solid on any surface.
Get Started
Ready to take the next step in personalizing your MIDI controller? Download the print files for the top and bottom parts of the enclosure right here:
N32B-V3 3D Print Enclosure – Top.stl
N32B-V3 3D Print Enclosure – Bottom.stl
Tips for Optimal 3D Printing Results
Achieving high-quality results with your N32B 3D printed enclosure involves more than just printing; it also includes careful post-processing. Here are some tips and techniques to ensure the best possible outcome:
Material Selection
Choose a filament that balances durability with ease of use. PLA is great for sharp details and easy printing, while ABS offers more strength and heat resistance, ideal for parts that might be exposed to higher temperatures.
Layer Height and Infill
Opt for a lower layer height for smoother surfaces and finer details. An infill of 20-30% is typically sufficient for a strong build without using excessive material.
Support Structures
The design of the N32B 3D printed enclosure is optimized to minimize the need for extensive support structures. However, it is recommended to add support for the areas where the four rubber feet will be attached at the bottom of the enclosure.
Carefully remove the supports post-print to maintain the integrity and finish of the enclosure.
Post-Processing
After printing, you can sand the surfaces to eliminate any visible layer lines, creating a smoother and more professional appearance. For a glossy finish, consider using a spray primer or paint suited for plastics.
Assembly Checks
Before fully assembling the enclosure with screws and rubber pads, fit the parts together to check alignment and ease of access to all controller functions. This step ensures that the final assembly will be functional and aesthetic.
By following these suggestions, you can enhance the quality and durability of your N32B 3D printed enclosure, ensuring that it not only looks professional but also stands up to the demands of regular use.
Printing your own N32B 3D printed enclosure is not only a practical project but also an exciting way to further engage with your music production tools. Get started today and transform your N32B V3 into a piece of tech that’s as unique as your music.


