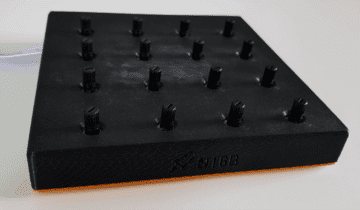
Building and uploading firmware for SHIK’s N32B is simple with the right tools. In this guide, we’ll walk you through using VS Code and PlatformIO to set up your custom board, build your project, and upload the firmware to your device. Let’s get started!
1. Install VS Code
Download and install VS Code. While you can use any IDE with a PlatformIO plugin, this guide uses VS Code.
2. Install PlatformIO
Open VS Code, go to the Extensions view (Ctrl+Shift+X or Command+Shift+X for Mac), search for “PlatformIO IDE,” and click install.
3. Add Custom Board JSON
Place SHIK’s custom board (N32B / N32B V3) JSON file in the PlatformIO configuration folder (~/.platformio/boards or C:\Users\<YourUsername>\.platformio\boards).
4. Clone SHIK’s GitHub Repository
Open VS Code terminal and run:
gh repo clone Shik-Tech/N32B_Macros5. Configure PlatformIO Project
Open platformio.ini and ensure the custom board (N32Bv3 or N32B) is set as the active board in the configuration.
6. Build and Upload Firmware
- Build: Open the “PlatformIO” tab on the left sidebar in VS Code. Expand the tree menu under PROJECT TASKS -> N32Bv3 or N32B (depending on your board) -> General, and click Build.
- Upload: In the same “PlatformIO” tab, click Upload under PROJECT TASKS -> N32Bv3 or N32B -> General.
7. Test and Verify
Test the device to ensure it’s working as expected.
And you’re done! Happy coding with SHIK!


